Learn how to make 10 great paper airplane designs with free, easy to follow animated instructions!
How To Make Paper Airplanes

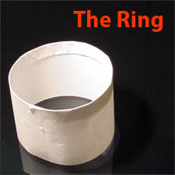
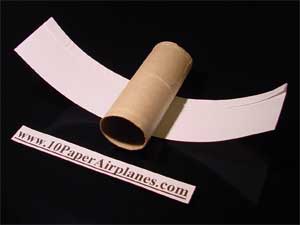
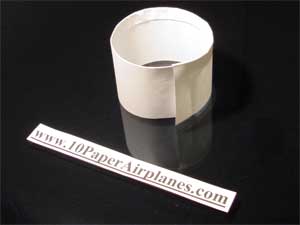
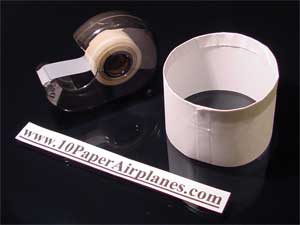
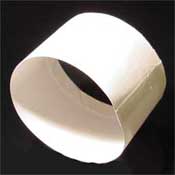
The Ring is a cool little plane that uses the boundry layer effect to float through the air, the most important part of flying this paper airplane is getting it to spin as fast as possible. To make this paper airplane you will need a single sheet of paper, a pair of scissors, and some tape.
Range: Medium
Difficulty: Easy
Fold 1 1. Fold your paper in half long-ways and unfold it again to create a crease to use as a guide. Then either cut or tear it along the crease to create two long strips of paper.
Fold 2 2. Beginning on one of the long sides, fold it down evenly about 1/2 inch. Repeat this step for a total of 4 folds. Keep your folds as tight and even as possible.

Fold 3

3. Using something cylandrical, gently shape the strip of paper into a circle by rolling it back and forth gently and smoothing out wrinkles as they occur. If you don't have anything on hand, roll the paper between your fingers.
4. Once it is circular, tuck one end into the other and use tape to hold it in place. Run the tape along the length of the connection.
paper airplane designs To throw the Ring, hold it in your hand so you are grasping the curved portion along your palm and throw it away from you with a smooth, overhanded slapping motion - letting it roll off of your fingertips. A good throw can make this sucker fly a long ways. paper airplane patterns

Back to 10 Paper Airplanes

© Copyright 2005-2008 10PaperAirplanes.com